How to Make Your First Ring at Home (Beginner Jewelry Making with Basic Tools)
Are you interested in learning jewelry making, starting a creative hobby, or even turning handmade jewelry into a side business? In this beginner-friendly tutorial, I’ll show you step-by-step how to make a copper ring using basic tools that are affordable and easy to find.
This guide follows along with my full YouTube video tutorial below.
Watch the Full Tutorial
Copper is one of the easiest and cheapest metals to start with. Once you learn this technique, you can use the same exact process on silver, gold, or brass.
What You Will Learn in This Tutorial
• Straightening jewelry wire
• Measuring and sizing a ring accurately
• Filing a clean joint
• Annealing metal to make it workable
• Soldering basics
• Proper forming and shaping
• Polishing and finishing
• Optional hammered texture technique
These are foundational silversmithing skills that apply to nearly every type of ring you will make in the future.
Tools and Materials You Need
Below is a simple setup perfect for beginners.
Sheet Metal and Wire
Bench Pins
Measuring Tools
Wire and Flush Cutters
Steel Bench Block
Hammers
Ring Mandrels and Sizers
Polishing Compounds
Bench Polishing Tools
Rotary Flex Shaft Tools
- Basic Flex Shaft Rotary Tool
- Foredom 2230 Jewelry Kit
- Foredom 2230 Kit (Alt Link)
- Foredom Kit with Quick-Change Handpiece
- H.20 Quick-Change Handpiece
Finger Protection
Pickle Setup
- Electric Slow Cooker (Pickle Pot)
- Sparex No. 2 Pickling Compound
- White Distilled Vinegar
- Salt
- Copper Pickle Tongs (9")
Rotary Tool Accessories
Flux and Application
Miter Guide
Silver Solder
Jeweler’s Saw and Blades
Metal Files
Soldering Surfaces
Tweezers
Pliers
Torch Options
- Propane Torch Tip (Trigger Start)
- Propane Fuel Cylinders
- Butane Jeweler’s Torch
- Smith Little Torch Kit (Oxygen + Propane)
- Flashback Arrestor Set
Step-by-Step Tutorial
1. Clean and straighten the wire
Remove any coating or insulation if using hardware store wire. Straighten the wire with a soft hammer against a metal surface.
2. Flatten one end and measure
Use a file to flatten the end. Then measure the wire thickness and the inside ring diameter. Use this simple formula:
(Material Thickness × 0.85) + Inside Diameter
Multiply that result by 3.14 (π) to calculate the ring blank length in millimeters.
Round up slightly for adjustments.
3. Cut the wire to final length
Cut straight with a jeweler’s saw for clean accuracy. Use lubricant on the saw blade to prevent breakage.
4. Anneal the wire
Heat the metal evenly until it reaches a very low glow. Do not overheat one area.
Place into pickle solution to remove tarnish from heating. Rinse and dry afterward.
Safety note: Do not use cookware for jewelry acids.
5. Shape the ring
Start bending the wire around the ring mandrel one size larger than needed. Bring the ends together carefully using smooth pliers. Remove any gaps by lightly running a saw blade between the ends.
6. Solder the seam
Apply flux to the joint and heat the entire ring evenly. Focus heat on the joint once the metal reaches temperature and allow solder to flow into the seam.
Pickle again to clean.
7. Form perfectly round
Return the ring to the mandrel and gently hammer while rotating to achieve a perfect circle and the correct size. Ensure the ring sits flat on a table.
8. Final sanding and polish
Remove excess solder until only a thin line remains. Polish using sanding discs, a rotary tool, or a bench polisher. Finish by cleaning off all polishing compound with warm soapy water.
Your first handmade ring is complete.
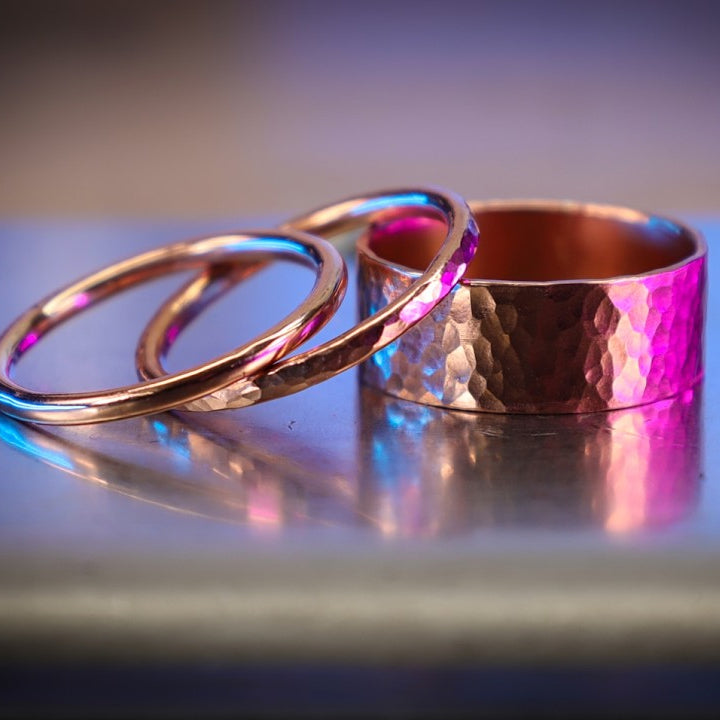
Optional: Hammered Texture Finish
Before polishing, lightly tap all around using a ball-peen hammer while keeping the ring tight on the mandrel. This stretches the ring and adds a professional hammered surface.
Start Your Jewelry Business
These beginner handmade rings are great to sell at local craft shows, online marketplaces such as Etsy, or your own website. With a few inexpensive tools, jewelry making can quickly turn into a profitable skill.
If you have questions, leave a comment on the YouTube video. I try to respond to as many as I can.